Now hopefully for your oven you've already done the math and you know how tall the center point of your door needs to be. Remember that for optimum performance the top center of the door should be 63% of the internal height of the oven. The measured height of the sand form is a safe measurement to use. The width of the door should be about 1/2 of the diameter of the internal oven space. For us that meant a 24 inch wide and 17 inch tall door. At this point that is important to know because you need to make the door smaller than your finished sized. This is a somewhat controversial technique to use if you have watched the YouTube videos and read other blogs and websites. However if you start smaller and then adjust your finished size you get a cleaner and sharper door opening. I'll touch on this again later.
Now on to cutting the first door opening. Well if you read all the websites and blogs as well as watch all the YouTube videos they all tell you to use a knife or a hacksaw blade. What a freaking joke! First of all our clay soil literally gets rock hard. Then you add all of the sand and this stuff rivals concrete in a matter of a few hours. I tried a knife and it did nothing for me at all. So I tried a hacksaw blade and that was worse. So now I to figure out what was going to work. Then I had a bright idea to use a hammer and chisel. Wow, this stuff is so hard that it dulled my chisel in a matter of minutes but, the chisel did the job. My shoulder and back was killing me afterward but, the chisel did the trick.
I cut the door opening to roughly 14 inches tall by 17 inches wide. This exposed the newspaper covering the sand form. The cool thing about removing a chunk of cob like this is that it can be added and worked into the next batch of cob. So we just tossed the cob chunks into a bucket and set them aside for the next batch. Now I just cut away the newspaper and we were ready to start removing the sand form.
Just start pulling out the sand and putting it in buckets, on a tarp, in a wheel barrow or whatever you want but, keep it separate from the clay soil so you can reuse the sand in future batches of cob. Because we built such a large oven we had to really reach in to get the sand out. Below is a picture of our son Charles working on removing the sand form.
In this next picture you can see how Charles has been removing the sand to work his way into the oven to remove the sand in the far back or the oven.

No Charles didn't do all of the work alone. I worked on the beginning then when I needed a break he took over. The he needed a break and I took over again. Charles then took over and finished getting the rest out. Expect that when you do this your finger tips will be rubbed smooth and sore. I know that when we finished removing the sand I had to take two days to recover and be able to move again.
Be ready with enough containers for that sand. You'll notice the cart in the first picture. We filled that twice over plus some when removing the sand form. The wet sand packs very dense and when you take it out it seems to at least double in size so be prepared.

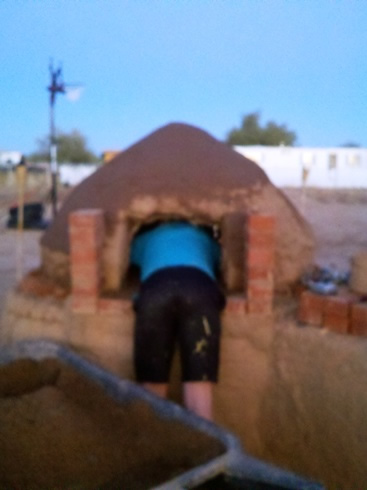
This last picture is of Charles sweeping out the last of the sand from the back of the oven. As you can see it's a big oven since he can fit completely inside it.
After all of the sand was swept out we pulled the loose layers of newspaper off of the inside of the oven. The newspapers that were stuck we just left on because after the oven is fired they would burn off. So now at this point we had to let the oven dry and cure. When you do this please don't get impatient as the cob must cure with walls this thick before any firing. If you fire it too soon it will generate steam and any steam pockets inside the wall can and will explode. The steam explosions can blow out anything from small holes to large sections. To make sure this didn't happen we waited a week to cure the dome.
No comments:
Post a Comment